
It is 11:50 PM and I’ve managed to submit my code before the deadline this time. This week was about textures. We have implemented;
- Background Textures for rays not hitting any objects
- Diffuse reflectance maps for manipulating reflectance coefficient (replacing or blending)
- Completely using texture color on an object (replace_all)
- Normal Maps
- Bump Maps
- Procedural Textures (Perlin Noise)
It was really hard for me to completely understand and implement these but at the end, I have managed to produce similar results. I have done a lot of debugging this week.
For now, I could not produce “veach_ajar” but when I have time, I am going to implement it and share my results. I have also added support for some other texture maps that I’ve learned while studying OpenGL (specular, emmission etc.). I want to import some scenes implemented by 3D artists to my raytracer. I’m very excited for that. But first, I need to implement “veach_ajar” scene.
Determining What To Add
Before I started implementing the homework, I first tried to understand .xml files and determine what to add. I have checked every xml file associated with homework 4 and made a list of the things that I don’t currently have. These were;
- Textures Node
- Images Node
- Image Name
- Texture Map Node
- Image Id
- Decal Mode
- Normalizer (divide 8bit rgb value with normalizer)
- Interpolation (bilinear or nearest neighbor)
- BumpFactor (how much we alter surface normals)
- Noise Scale (adjusts perlin noise size)
- Noise Conversion (patchy or veiny perlin noise)
- Images Node
- TexCoordData
- Mesh Node ( shadingMode=”flat” or “smooth” selection added for soft shading)
- Textures
- Faces (vertexOffset and textureOffset support added)
I want to explain some elements of the list above.
Images Node
So, I’ve added an Image class to my project. It basically stores the pixels and has a function to get pixel values. It utilizes stbi_image header for reading images.
class Image {
public:
    int height, width, channels;
    unsigned char* pixels;
    Image(const char* filepath)
    {
        pixels = stbi_load(filepath, &width, &height, &channels, 0);
    }

    ~Image()
    {
        delete pixels;
    }

    glm::vec3 get(int i, int j)
    {

        int indexX = std::clamp(j, 0, height - 1) * width * channels;
        int indexY = std::clamp(i ,0, width - 1) * channels;

        float r = pixels[indexX + indexY];
        float g = pixels[indexX + indexY + 1];
        float b = pixels[indexX + indexY + 2];

        return glm::vec3(r,g,b);
    }

};
For every Image Node in the xml file, I create an Image pointer and push it into a std::vector.
Texture Map Node
I’ve also added another class for Texture Maps. Our objects may use them for different purposes. In this homework, we have used texture maps for replacing diffuse kd and changing the normals.
As far as I know, we can also use texture maps for things like;
- Light emitting surfaces
- Rough surfaces
- Different specular kd
So, I will implement them as well but currently, my ray tracer only supports specular, diffuse,normal and bump maps.
My texture class also supports procedural textures. For that, I’ve separately implemented a Perlin Noise Generator class for getting noise values. I’ve used the technique that we’ve learnt in class. My implementation of perlin noise can be seen here;
So, how I use this class? Every object that is rendered can hold pointers to six textures;
- Diffuse Map
- Specular Map
- Emission Map
- Normal Map
- Bump Map
- Roughness Map
These are the ones that I’ve thought. So behavior of object intersection reports are determined by looking at the existence of these texture maps. All these maps can be image textures or procedural textures. This is determined while parsing xml files.
Results
I want to start sharing my results here, because all the results are about texture maps.
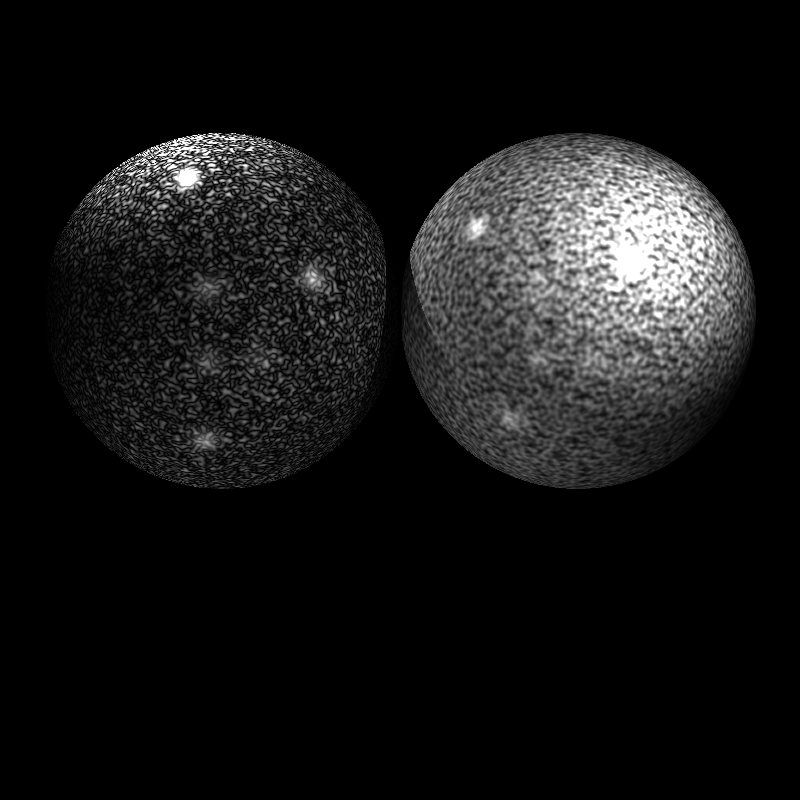
My perlin noise generator gives this procedural texture. It was really cool learning about perlin textures because I know that it is used a lot in graphics programming world.

When I use scaling for perlin textures, I get the result below;
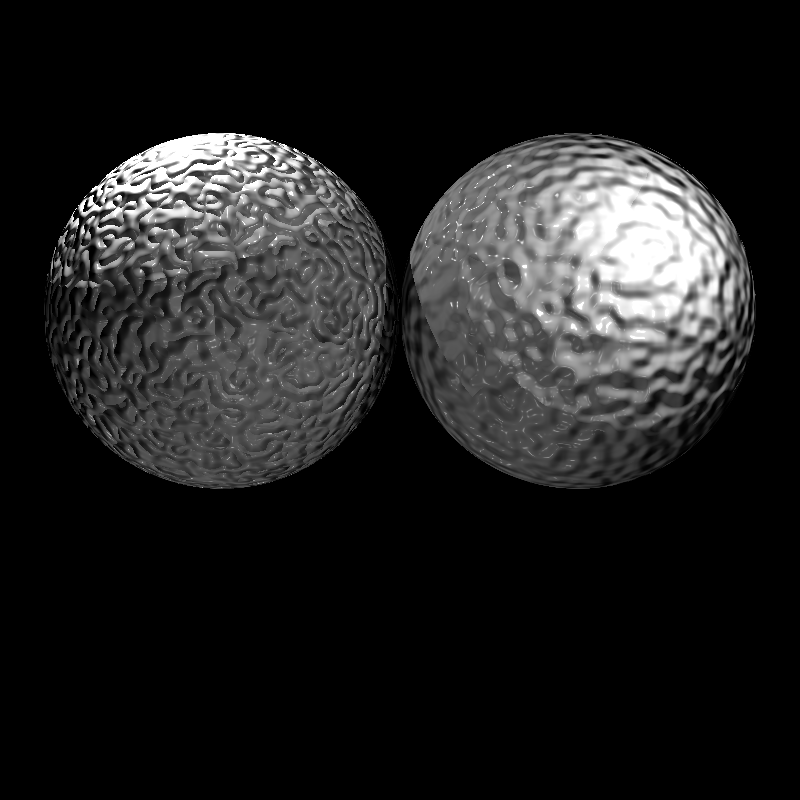
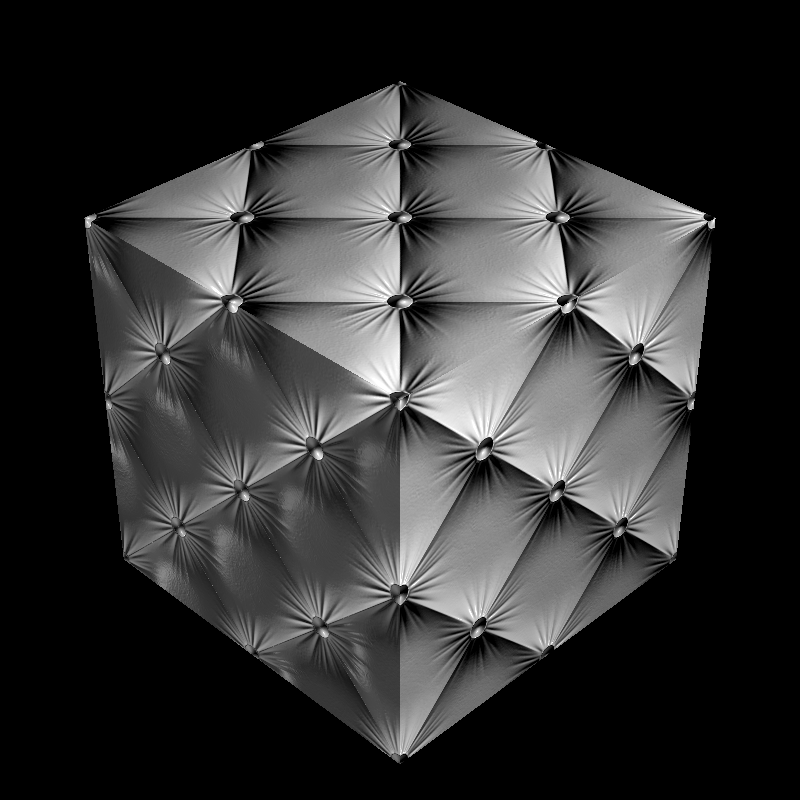
We can also use perlin textures as bump maps. By doing that we can create interesting surfaces.
Below, we can see an example of a normal map applied on the right sphere.
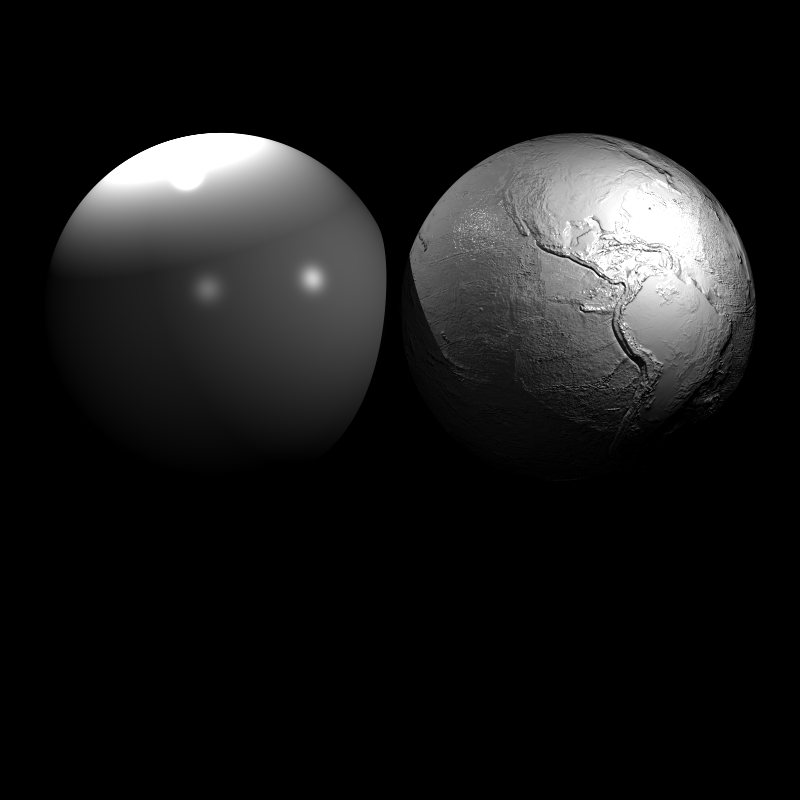
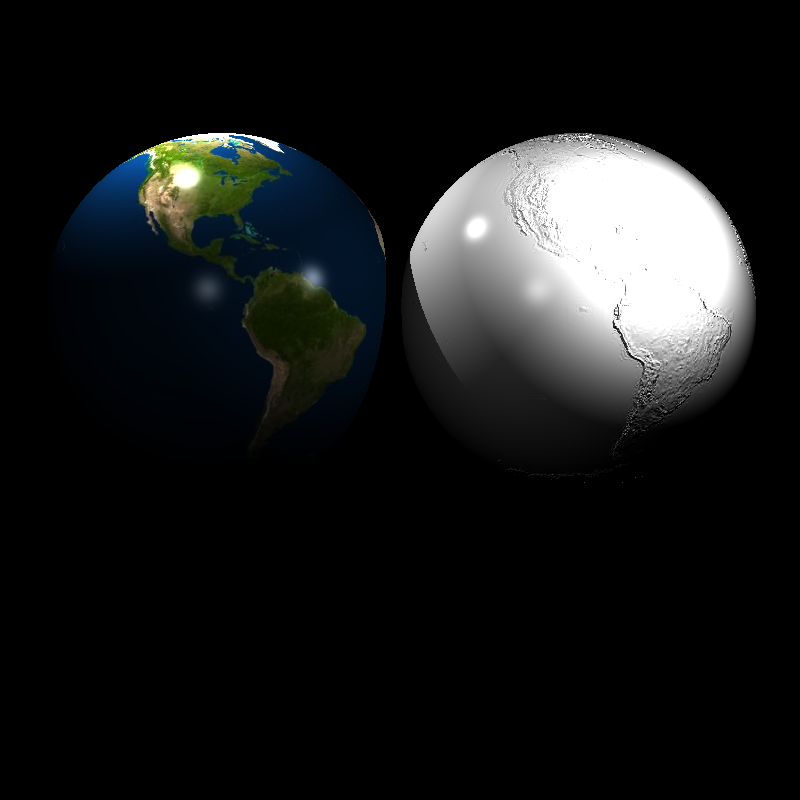
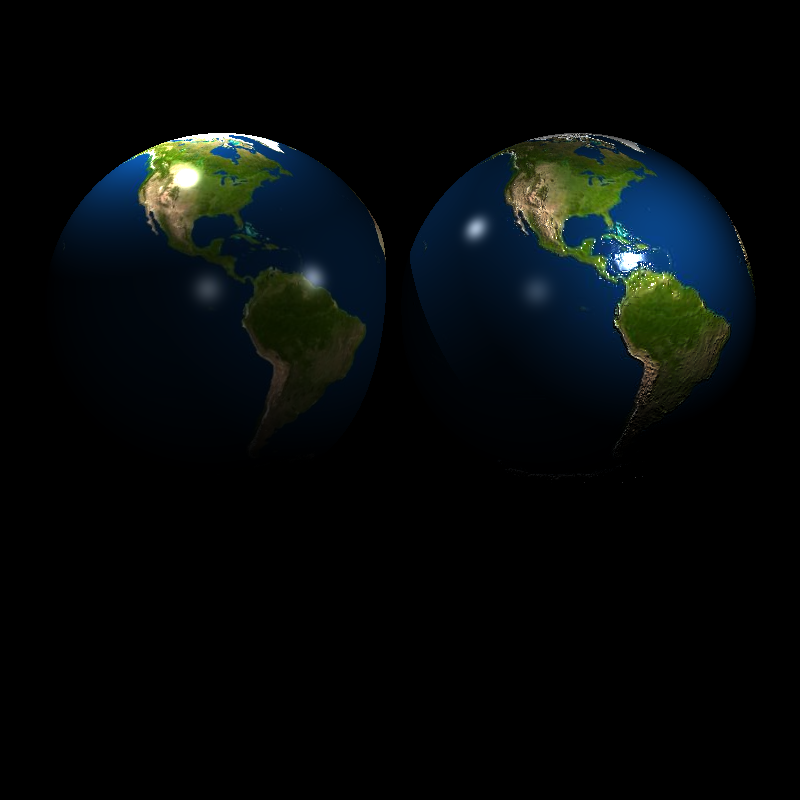
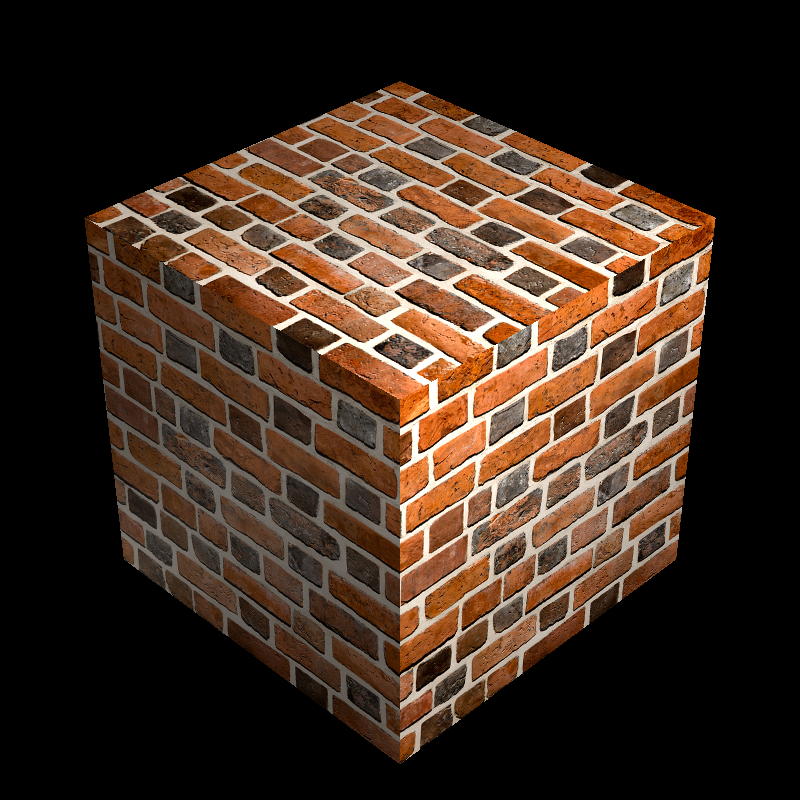
A world map is used as a diffuse texture on the left sphere and as a bump map on the right one.
We can use bump map and diffuse textures at the same time too. I have noticed that my bump map results are a little bit different than the provided outputs. I think that it is because of my method of taking forward differences on bump maps. I take average value of r,g and b’s for every pixel and calculate their difference for finding d_u’s in bump mapping formula. Maybe I should find another technique.
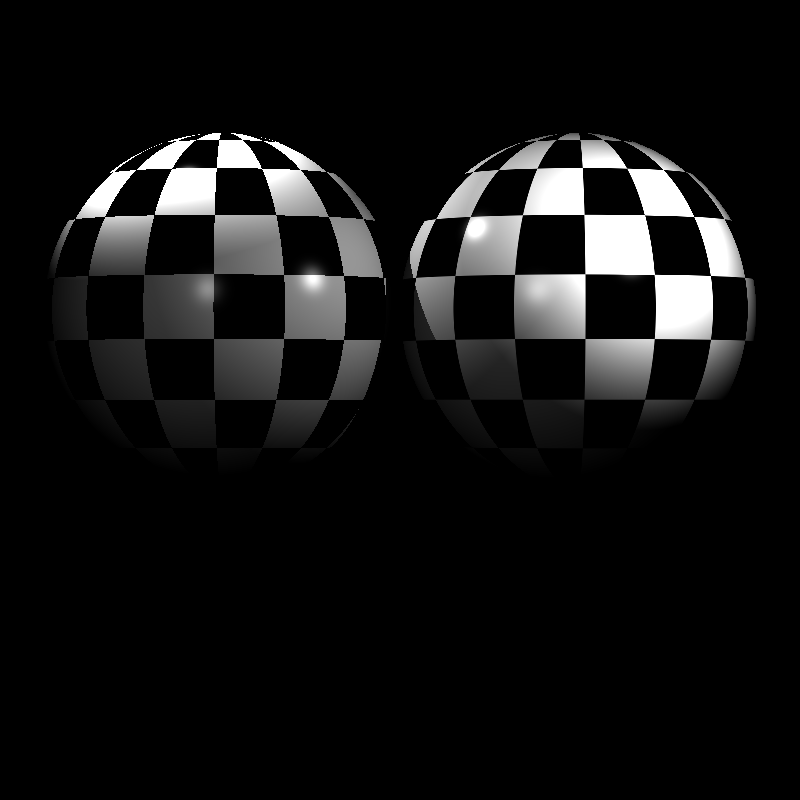
Below, we can see the difference between nearest neighbor and bilinear interpolation for texture mapping. Bilinear interpolation gives more satisfying results.
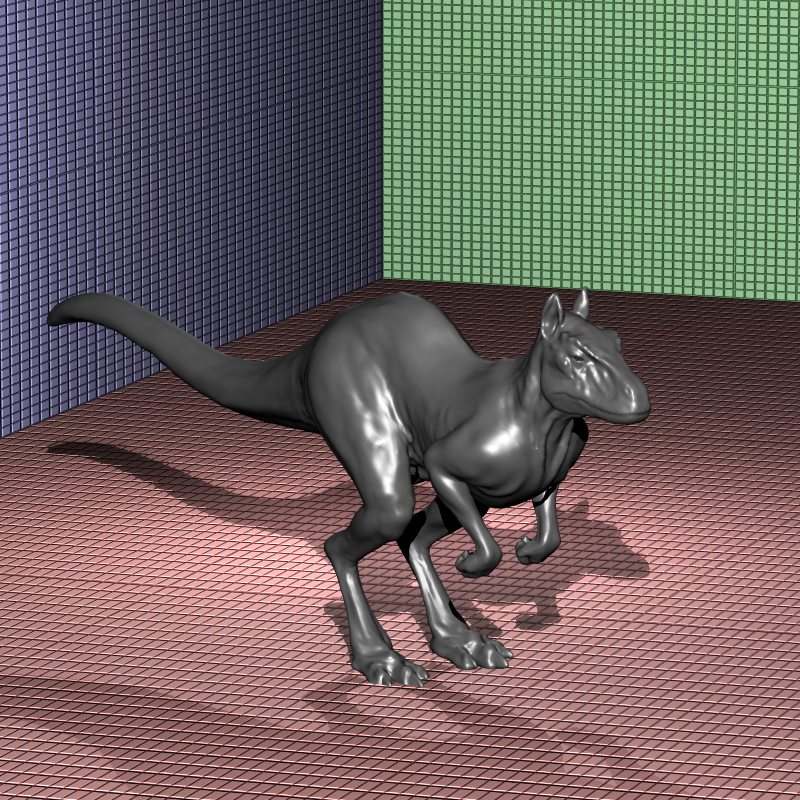
The model below uses soft shading and bump maps together.
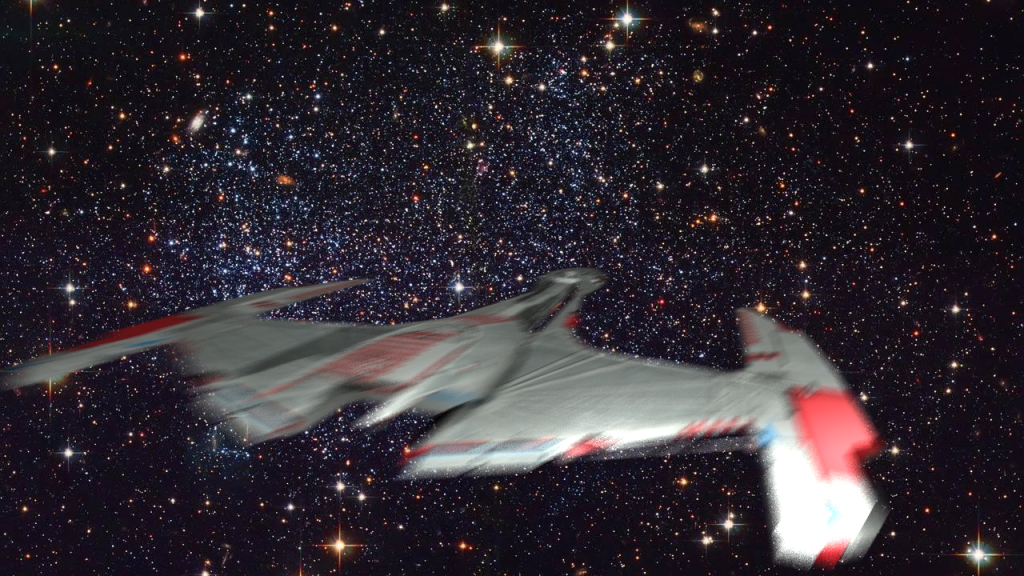
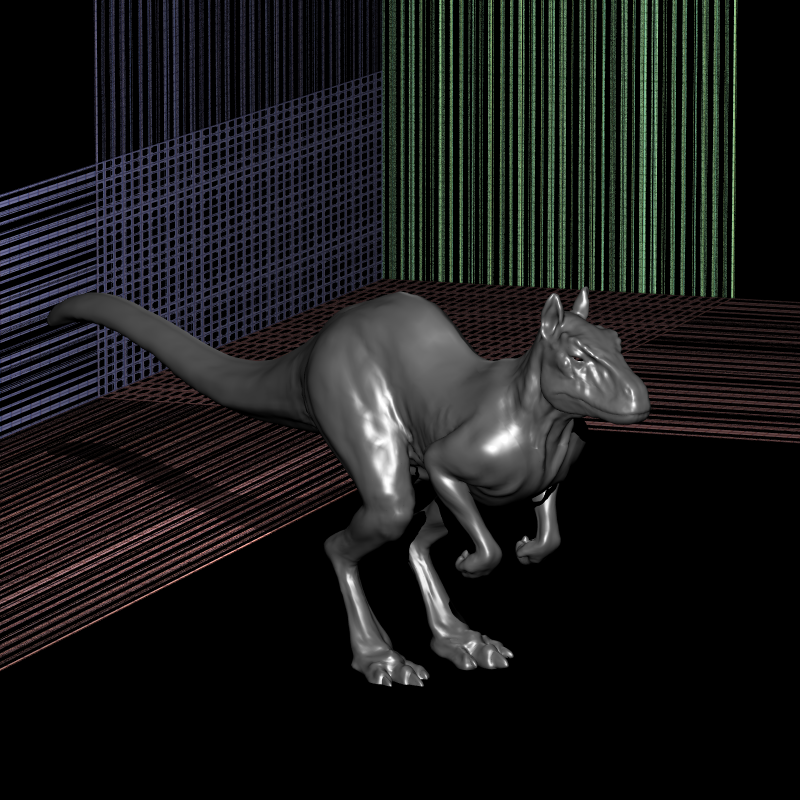
Textures can also be used as background images. The next two images below shows that.
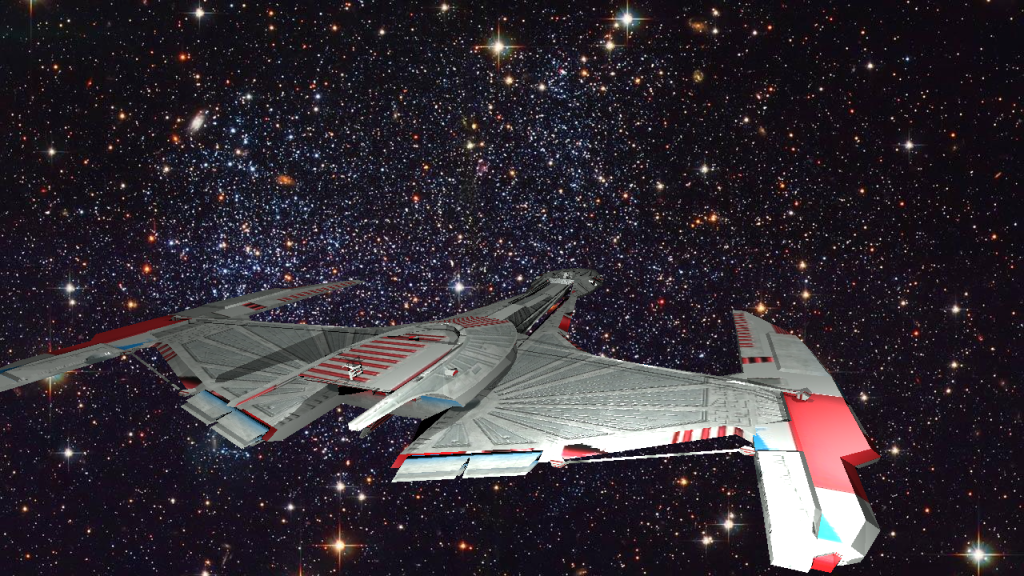
We add motion blur to the spaceship;
Below, we can see an example of the visual enhancement normal maps provide;

The images above are both rendered in approx. 90ms. So using texture maps does not add significant amount of computational intensity to our ray tracer, yet it increases visual quality a lot.
In the next image, we can see a collection of different texture modes applied on transformed spheres;

Another example of bump mapping is shown in the next image. It’s color is a little bit different and I think that it is because the way that I use normalizer node in xml files.
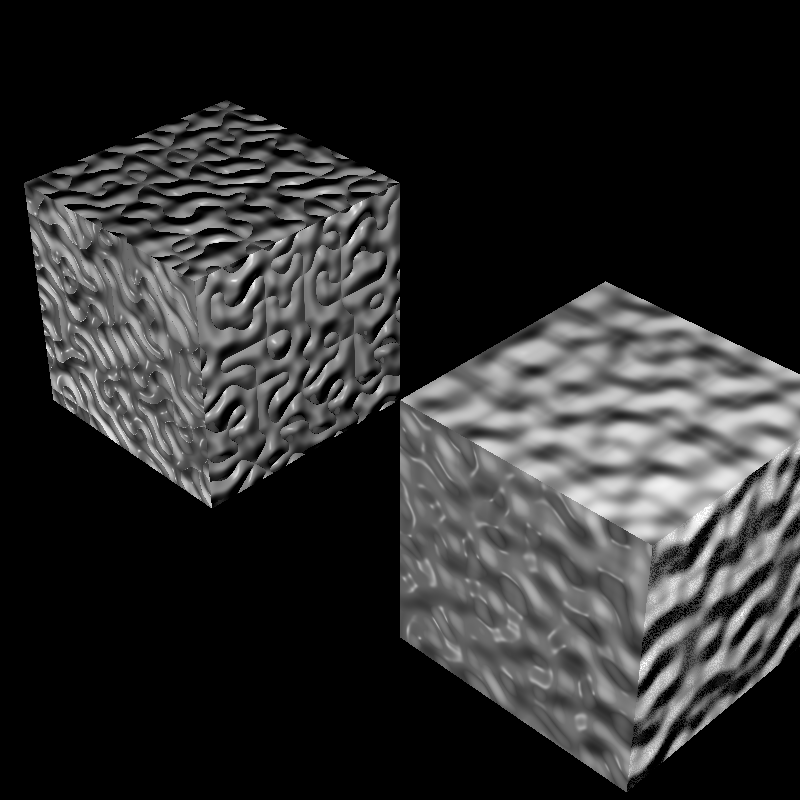
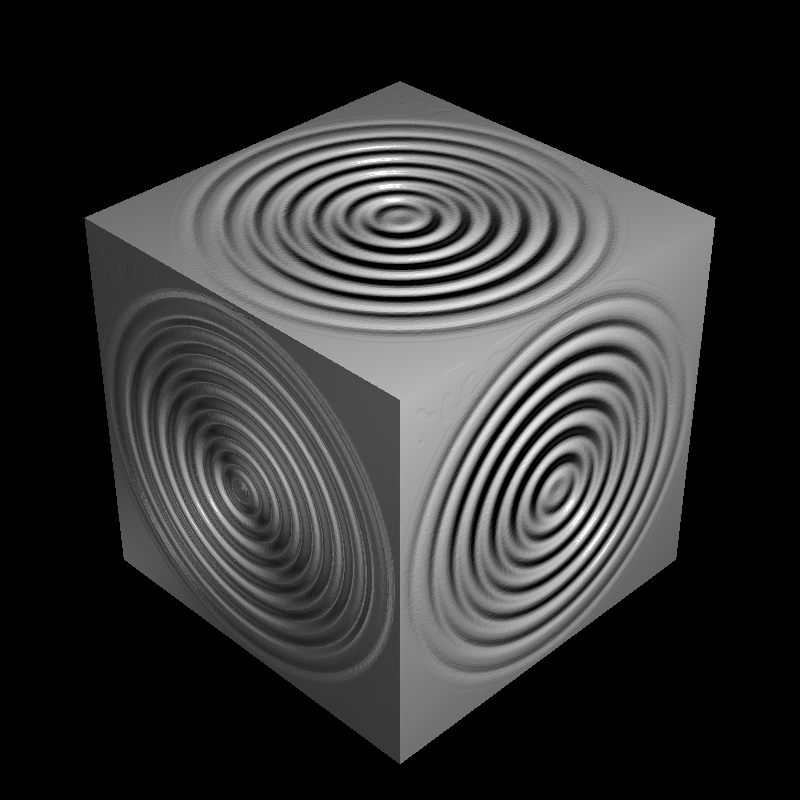
For the image below, I have no idea why it produces a noisy perlin noise (:D) for the right cube. I could not find the reason here for now.
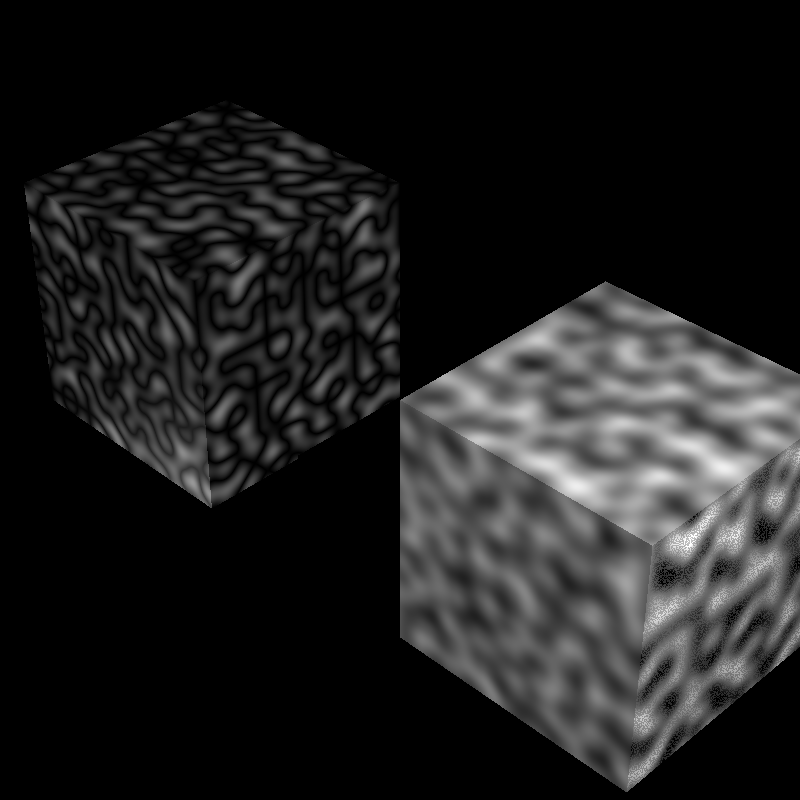
Perlin noise is applied to cubes as bump maps;
Another normal map applied to a cube
Problems I’ve encountered
First of all, In order to fully synchronize with the class, I had to change color values that I take from floating points between 0-1 to 8 bit unsigned integers. I was having a lot of difficulties while dealing with colors so changing it helped me a lot.
I had a lot of problems in the implementation of bump maps because I was normalizing tangent and bitangent vectors unnecessarily. I was getting results like this;
But I’ve solved it. Secondly, I had very bright textures in galactica image because the lack of normalizer node in its xml files. I could just use default normalizer as 255 but I wanted to add a normalizer node to mesh itself in the xml file. This was the error I was getting;
In the above image, It is seen that my background texture has also errors. It was a silly mistake in the code, I fixed it quickly.
Conclusion
This homework was the hardest one for me. But I’ve learnt a lot and produced really satisfying results. I’ve also looked at the blog pages of other friends who took the course in previous semesters and saw their images after the texture homework. I’m really excited to produce these cool images in the upcoming weeks.
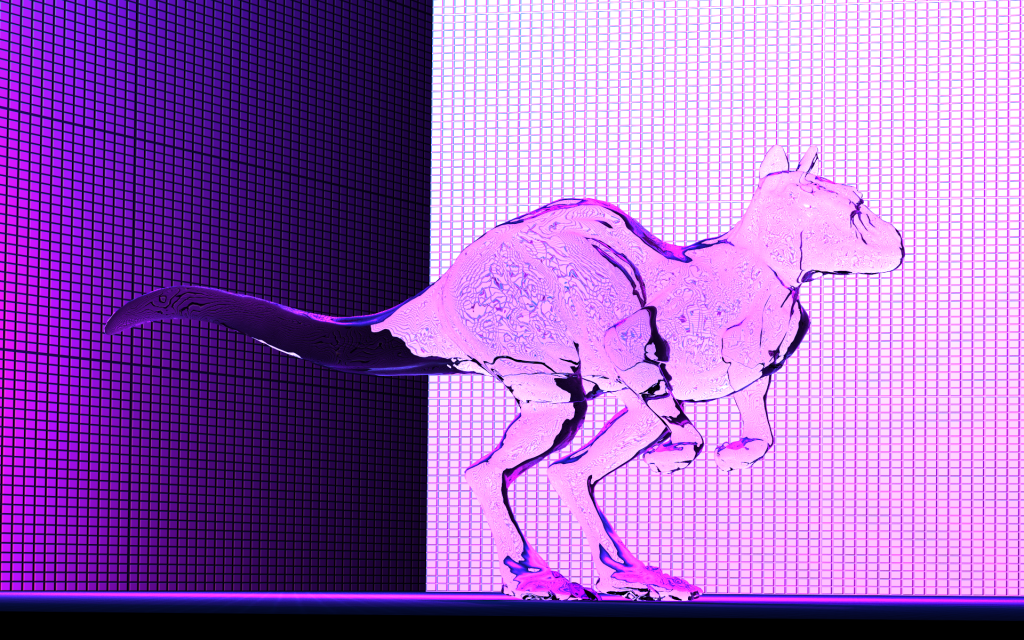
I’ve played around with killeroo xml file a little bit and produced this image. It’s my wallpaper in my workplace. I’ve rendered it in my work computer. Today I was supposed to read and evaluate reports coming from contestants in “teknofest” rocket contest, so while I was reading these reports, I rendered some cool images :D.
I will shortly add ply support for texturing. That’s it from me for this week.
And its time. I have implemented veach_ajar scene too, here is my result. I have implemented checkerboard procedural texture and texture support for ply files;


One thought on “RayTracing Revisited: Part 4”