End of the semester came finally :D. In the final part of our homeworks, we have implemented;
- Object Lights ( Sphere and Mesh)
- Monte Carlo Sampling
- Path Tracing
I struggled a lot as always and want to share what I did in this part. I got some weird results while implementing.
This homework is divided into two parts. In the first part we test object lights without using path tracing and in the second part, we merge the first part with path tracing technique.
Object Lights
We first had to implement object lights. They can be spheres or meshes. Best way to represent them in our project is using multiple inheritance;
- LightSphere is a Sphere and a Light
- LightMesh is a Mesh and a Light
Object lights can intersect with rays and this determines things like stopping conditions for path tracing usually.
In order to use object lights properly, we need to implement sampling techniques. With sampling, we randomly select a point on the object light and use that point for illumination. Object lights have radiance associated with them. This is not like intensity, we need to divide our result to the probability of sampling that point. We actually did that in area lights.
So, by keeping them in mind, I first implemented LightSphere and LightMesh classes and added functions to these classes for sampling random points. Different techniques are used for LightMeshes and LightSpheres
Light Mesh
Light Meshes have triangles and we first need to sample a triangle, and then we need to sample a point inside that triangle.
We want to have higher probability for selecting triangles with bigger surface areas. I came up with this idea after thinking:
I sorted all triangles of the mesh in an array with ascending order and generated a random float number (between 0.0 and 1.0) for indexing the array. I round and transform it into integer for indexing. But this random number has equal probability for all indices of the array. I thought that maybe if I take the square root of this random number (since it is less than 1.0) I will more likely to get higher indices and I tried it separately and saw that working.
And then, just as we saw in class, I uniformly sampled a point inside the selected triangle. I generated two random variables (between 0.0 and 1.0) and again for ensuring uniformity, I needed to take square root of one of my random variables.
After sampling, we need to divide the result to the probability of selecting that sample. It is normally;
(distance*distance) / (totalArea * costheta)Theta is the angle between our sampled direction and the surface normal of that triangle we have sampled.
Lastly, this light object may have transformations, so we also need to apply the transformation matrices accordingly.
Light Sphere
For getting a point on the sphere, we need to do inversion sampling. We first generate an orthonormal basis around the w direction (center_sphere – point) and then find theta and phi angles for generating a direction. We also need to know the theta_max which is;
std::asin(radius / (distanceBetween center and point)Before doing any of these, we first need to transform our point into the local coordinates of the sphere. After we finish sampling, we need to transform it back to world coordinates.
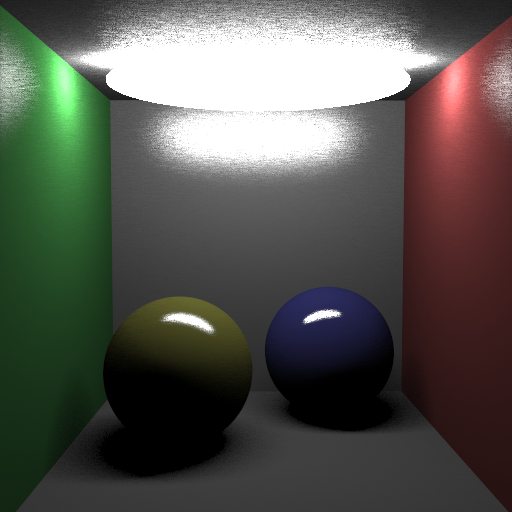
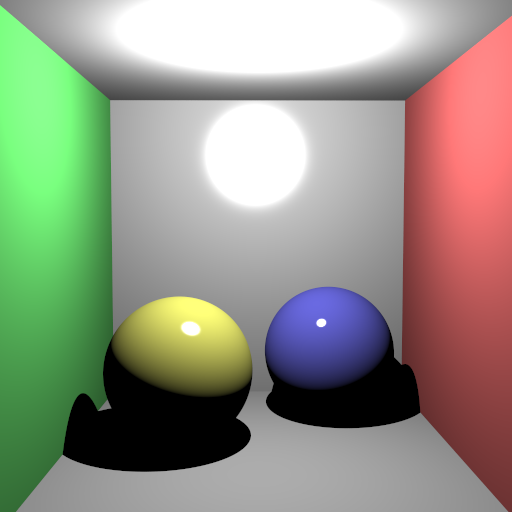
Direct Lighthing
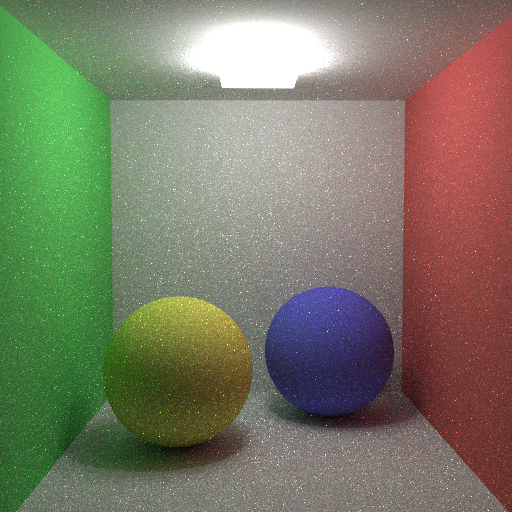
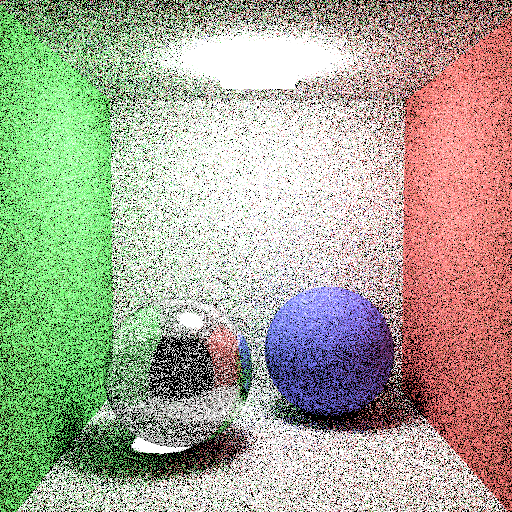
This is the first part of the homework. Here, I tried implementing object lights with direct lighting. I was constantly getting wrong results like these;
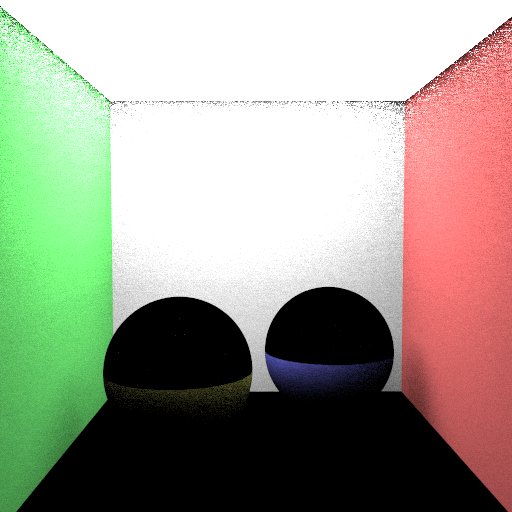
I was getting these errors because of some mistakes in sampling. They were silly mistakes. I corrected them after I figured out the problems.
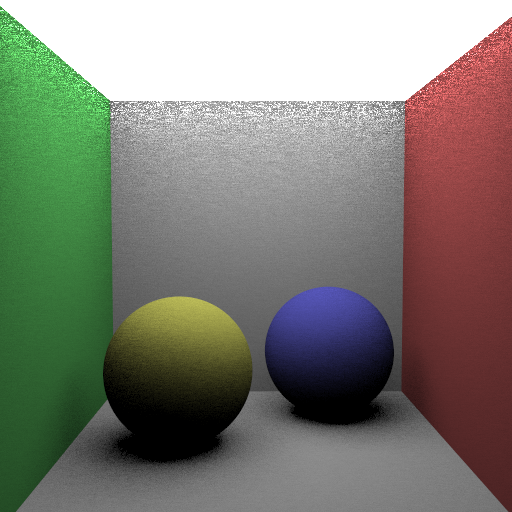
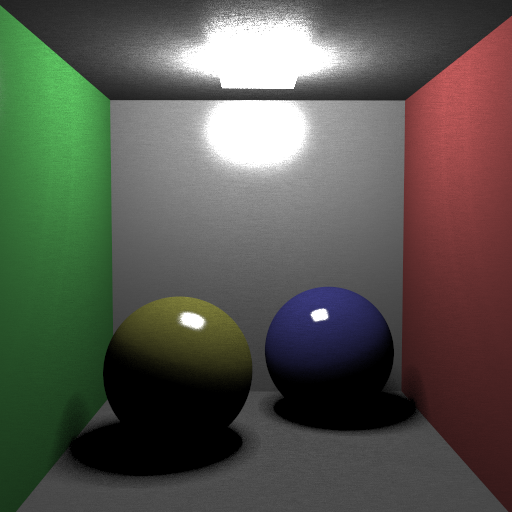
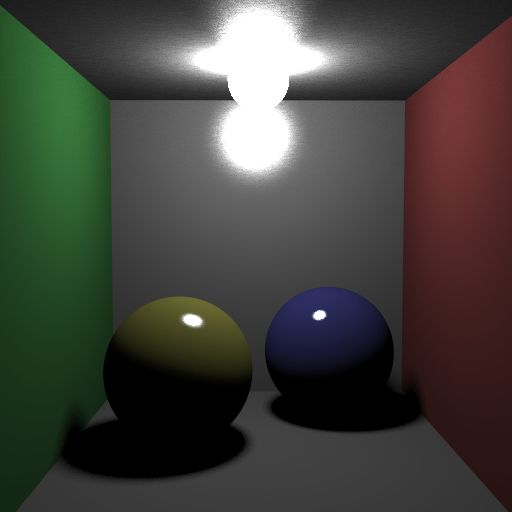
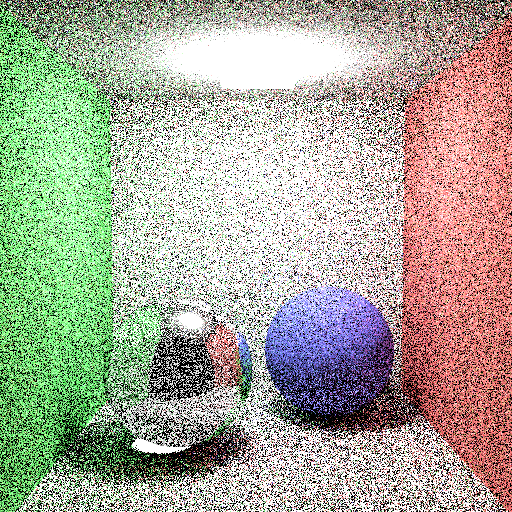
Here are my results;

I don’t know why I get the picture above. I tried a lot of things and still it is slightly different.
This is the direct light part. After this, I leaned on implementing path tracing.
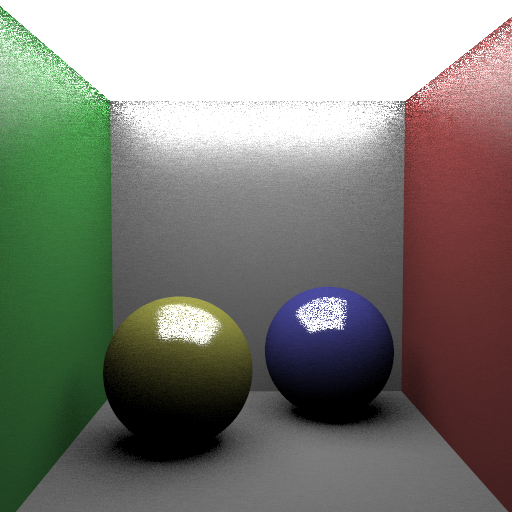
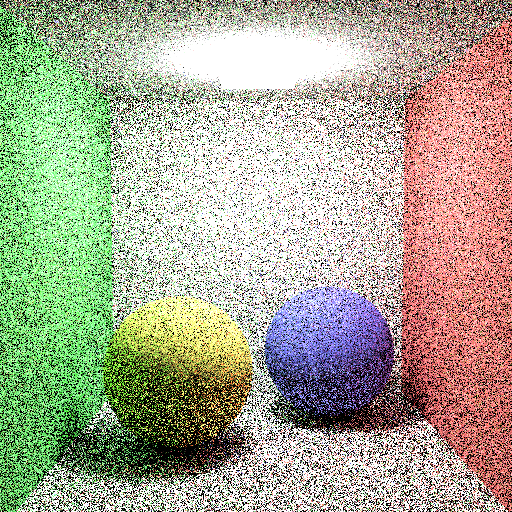
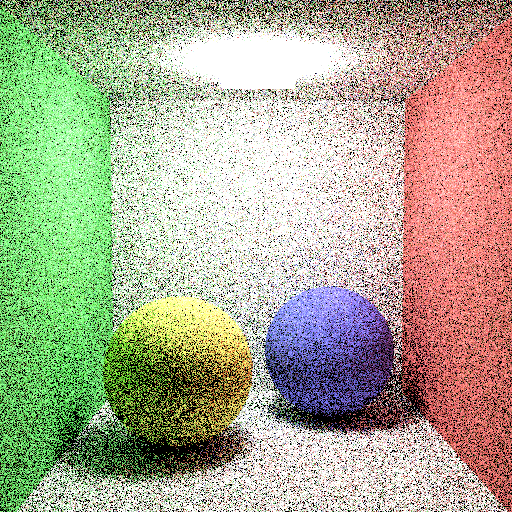
Path Tracing
In this part, we needed to make some additions to our cameras for rendering parameters. We have three parameters for path tracing;
- Importance Sampling ( or cosine sampling)
- Next Event Estimation
- Russian Roulette
Normally without importance sampling we uniformly sample directions around the surface normal for calculating the next bounce of the ray. But with importance sampling, directions more similar to the surface normal are more likely to be used.
With next event estimation, we also use illumination of light sources in each iteration. However, if our ray intersects with a light source, we discard that ray.
And finally, russian roulette is for determining when to terminate a ray. For doing that, I used the 1 – throughput approach. After many bounces, a ray is more likely to be terminated. But ofcourse, there is no termination while bounce number is smaller than max_recursion_depth.
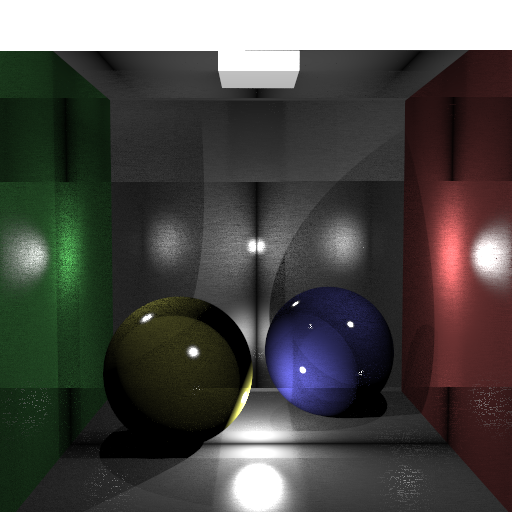
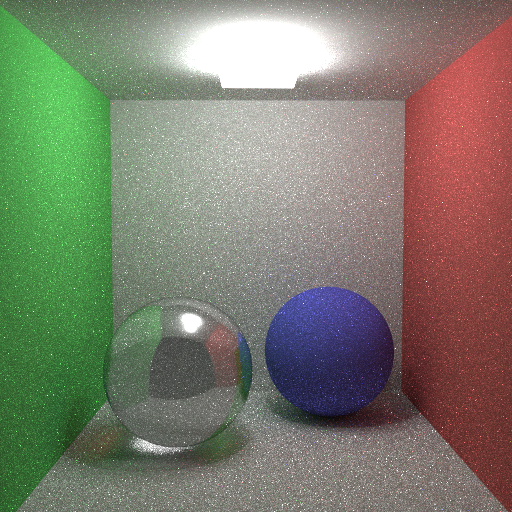
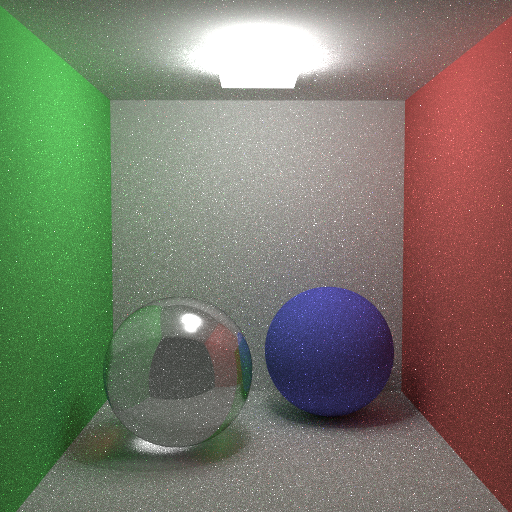
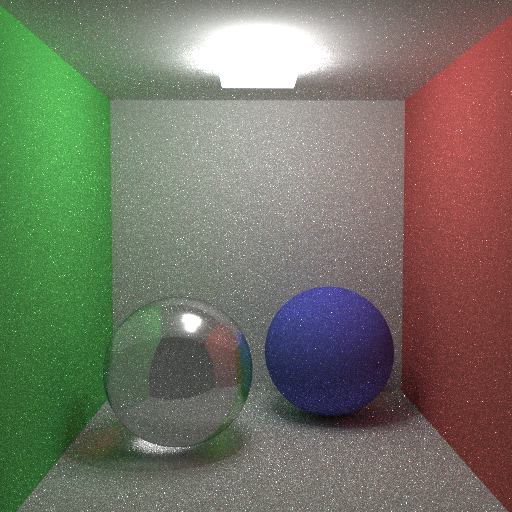
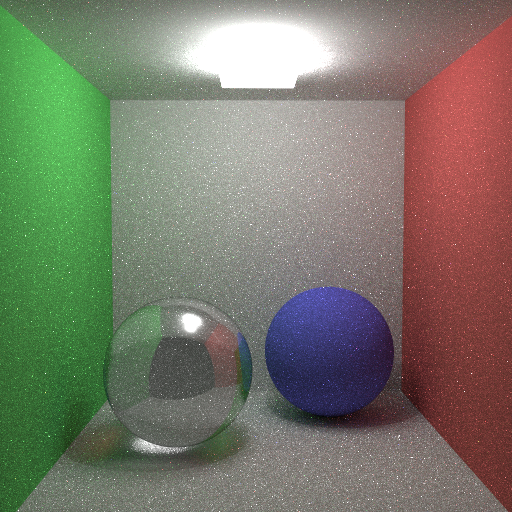
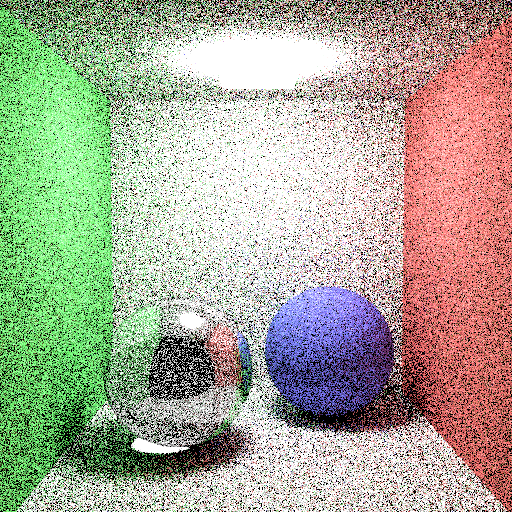
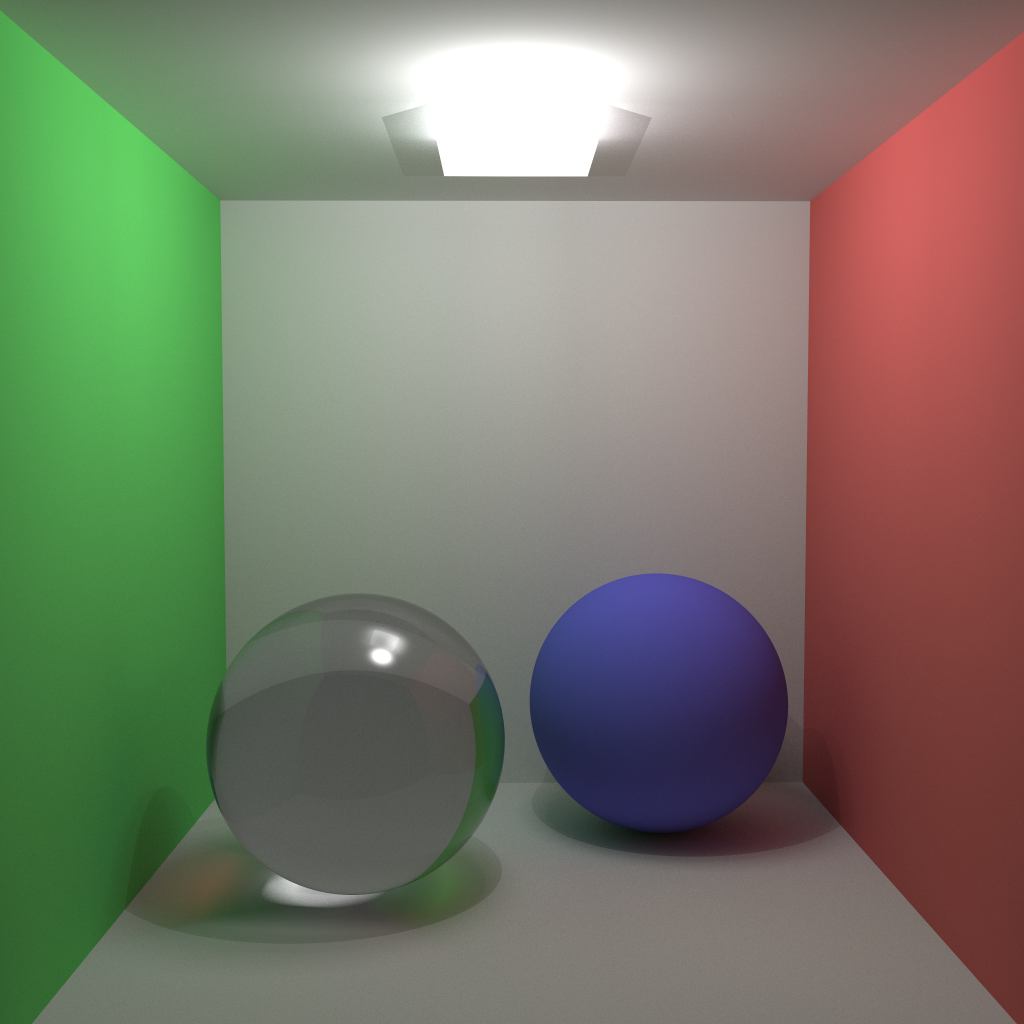
And here are my results for pathTracing.
Diffuse scenes:


Glass Scenes:

Conclusion
It has been a great semester for me. I have learnt a lot in this class. Actually, it is the first time that I’m building this kind of a project. I’ve also read blogs of classmates and learnt a lot from them.
I also want to render veach ajar and sponza scenes but I was dealing with bugs and did not have time. But I will definitely render them. I also want to use some scenes which are uploaded on sketchfab. I also want to try them with my raytracer.
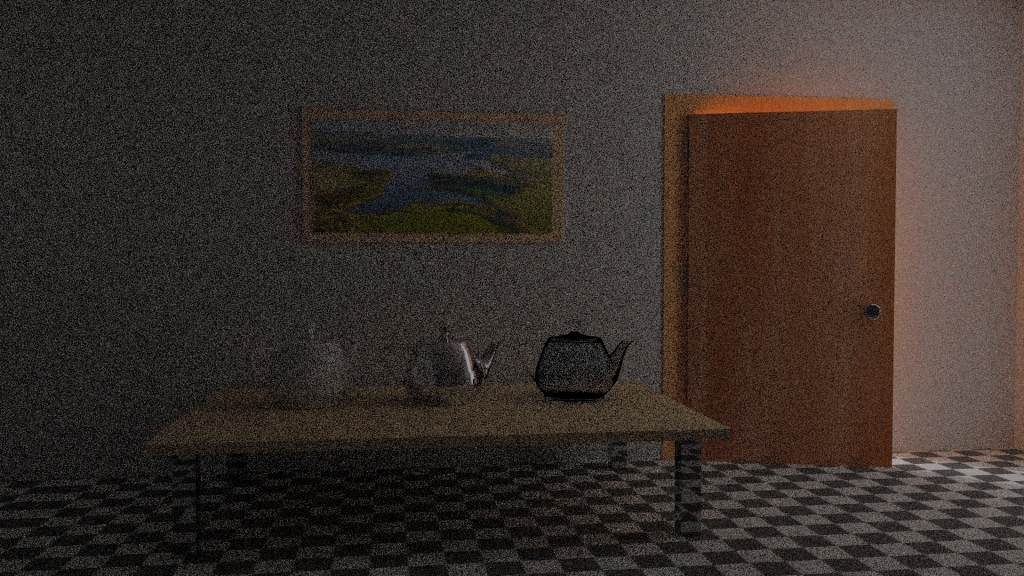
I’m trying to render veach ajar. I’m using low sample count for debugging purposes :D. Once it is finished, I will post it here.
And here it is 😀

Some High Quality Images
I can’t stop playing around with this :D. I have learnt how to use “screen” in inek machines so I’m using our ineks for creating these images.


One thought on “Raytracing: Revisited Part 7”